Dashboard
Summary
This is the iOS SDK of Tats. You can read more about Tats at http://#. Current version is the 1.3.3
Basic Installation
These are the minimal steps required to integrate the Tats SDK into your iOS Swift project. We are going to assume that you use Xcode for your iOS development.
1. Get the SDK
The SDK is in the form of a zip file TatsSDK-iOS-<version>-<debug_or_release>.zip containing the header files (in the include folder)
and the static lib .a file. There are 2 zip files, one for the release version of the lib (without logging features)
and one for the debug one (it provides tracking request logs that you can use for testing your app development builds)
2. Add it to your project
Unzip the SDK zip file. In Xcode's Project Navigator locate the Supporting Files group (or any other group of your choice). From Finder drag the Tats directory into the newly created Xcode's group.
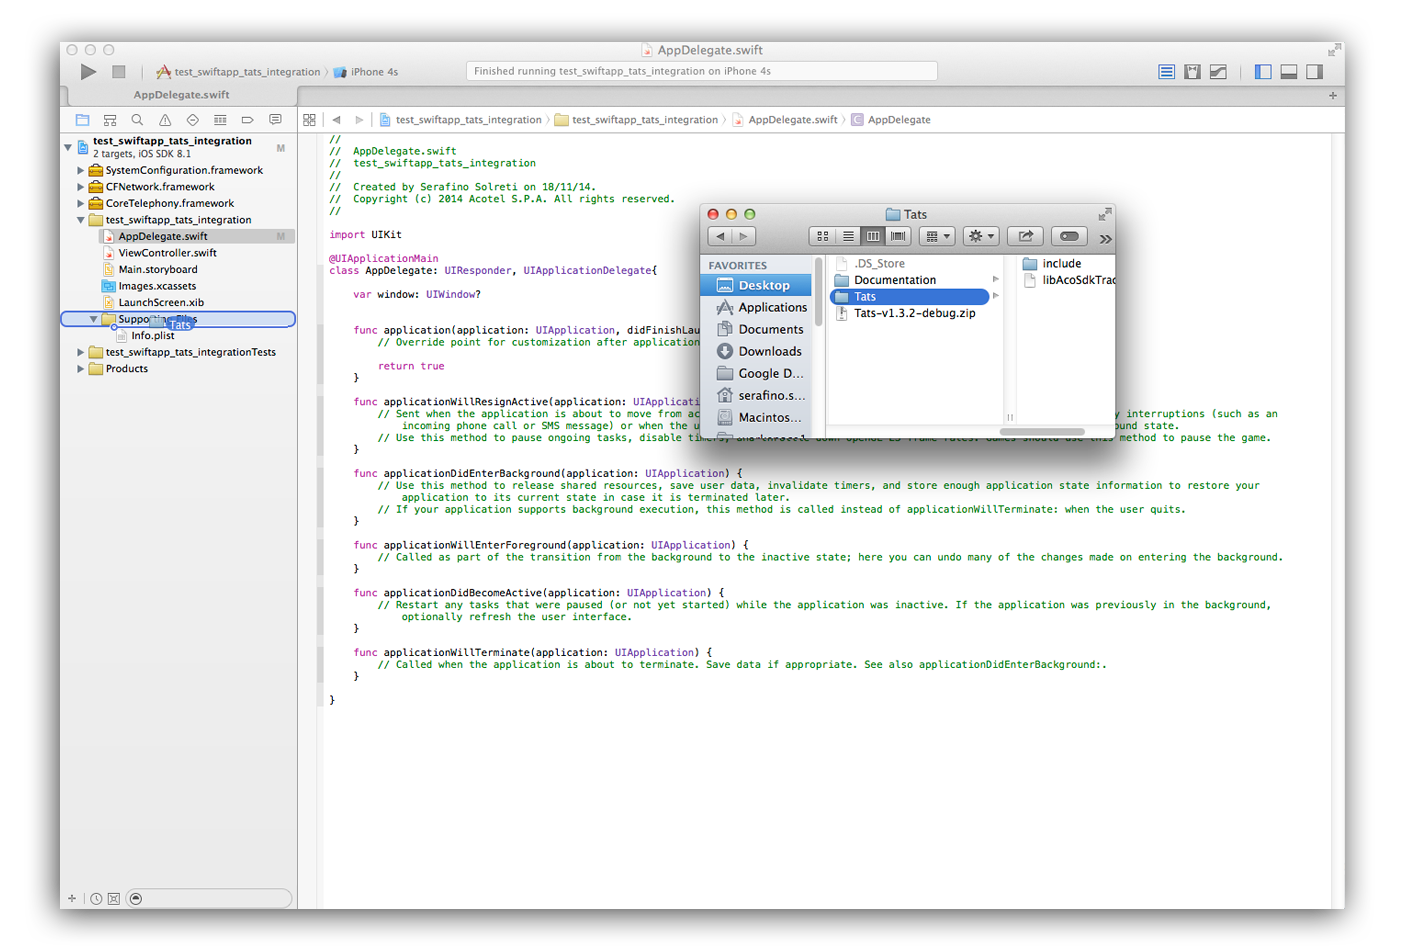
In the dialog Choose options for adding these files make sure to check the checkbox to Copy items into destination group's folder and select the upper radio button to Create groups for any added folders.

3. Add required frameworks
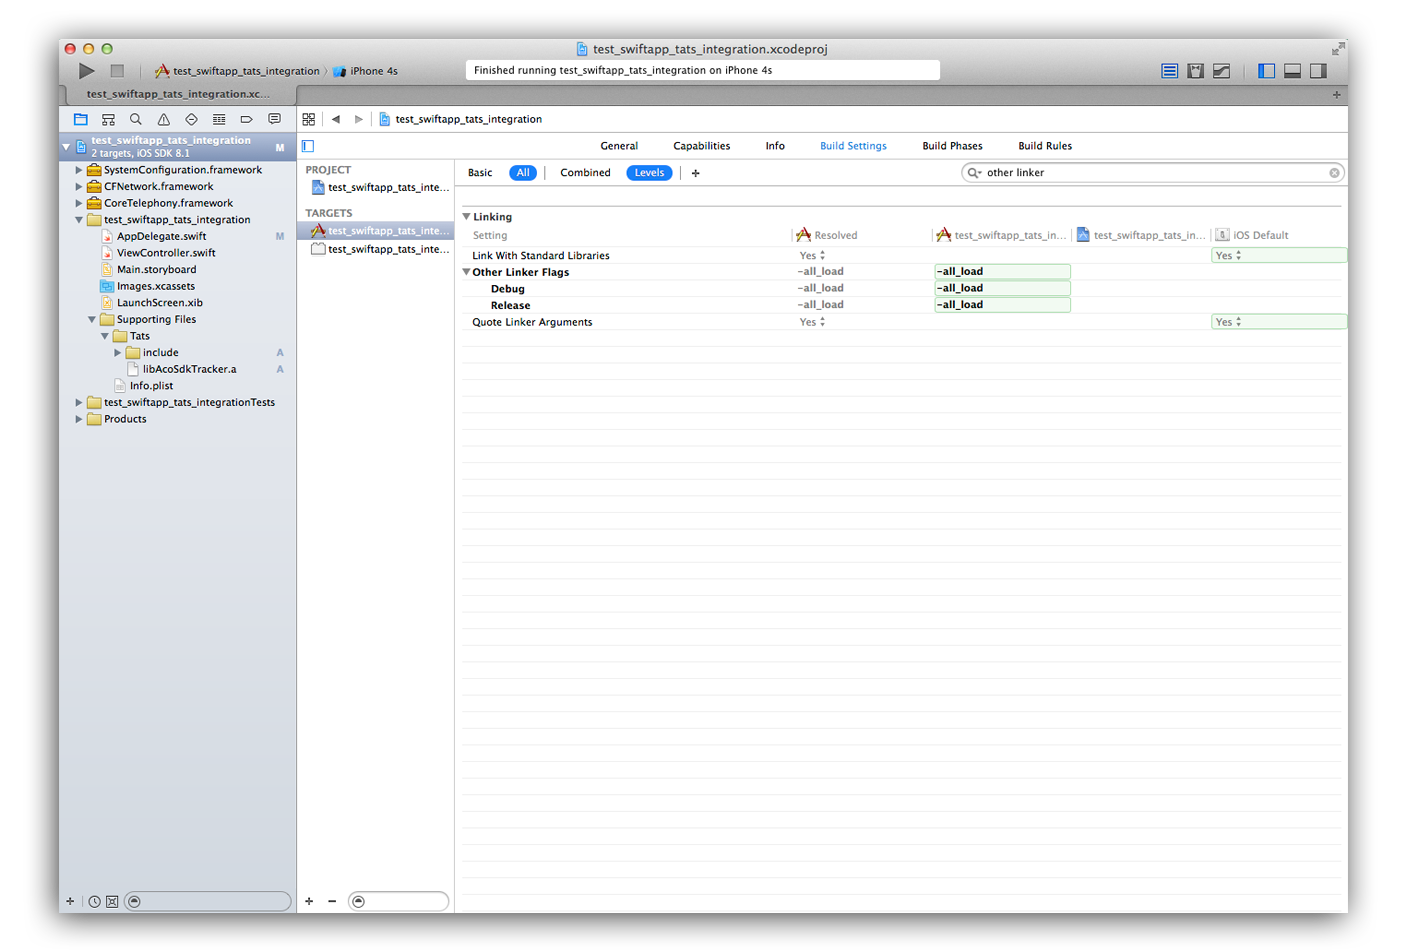
In the Project Navigator select your project. In the left hand side of the main view select your target.
In the tab Build Phases expand the group Link Binary with Libraries. On the bottom of that group click on the + button. Select the CFNetwork.framework and click the Add button.
Repeat the same step to add the SystemConfiguration, CoreTelephony and AdSupport.framework.
Don't add the AdSupport.framework if your app doesn't use the IDFA identifier for purposes allowed by Apple (in such a case your app will be probably rejected: you can read this
link article for more info...).
In the tab Build Settings expand the group Other Linker Flags. Add the flag -all_load both to Debug and Release configuration.
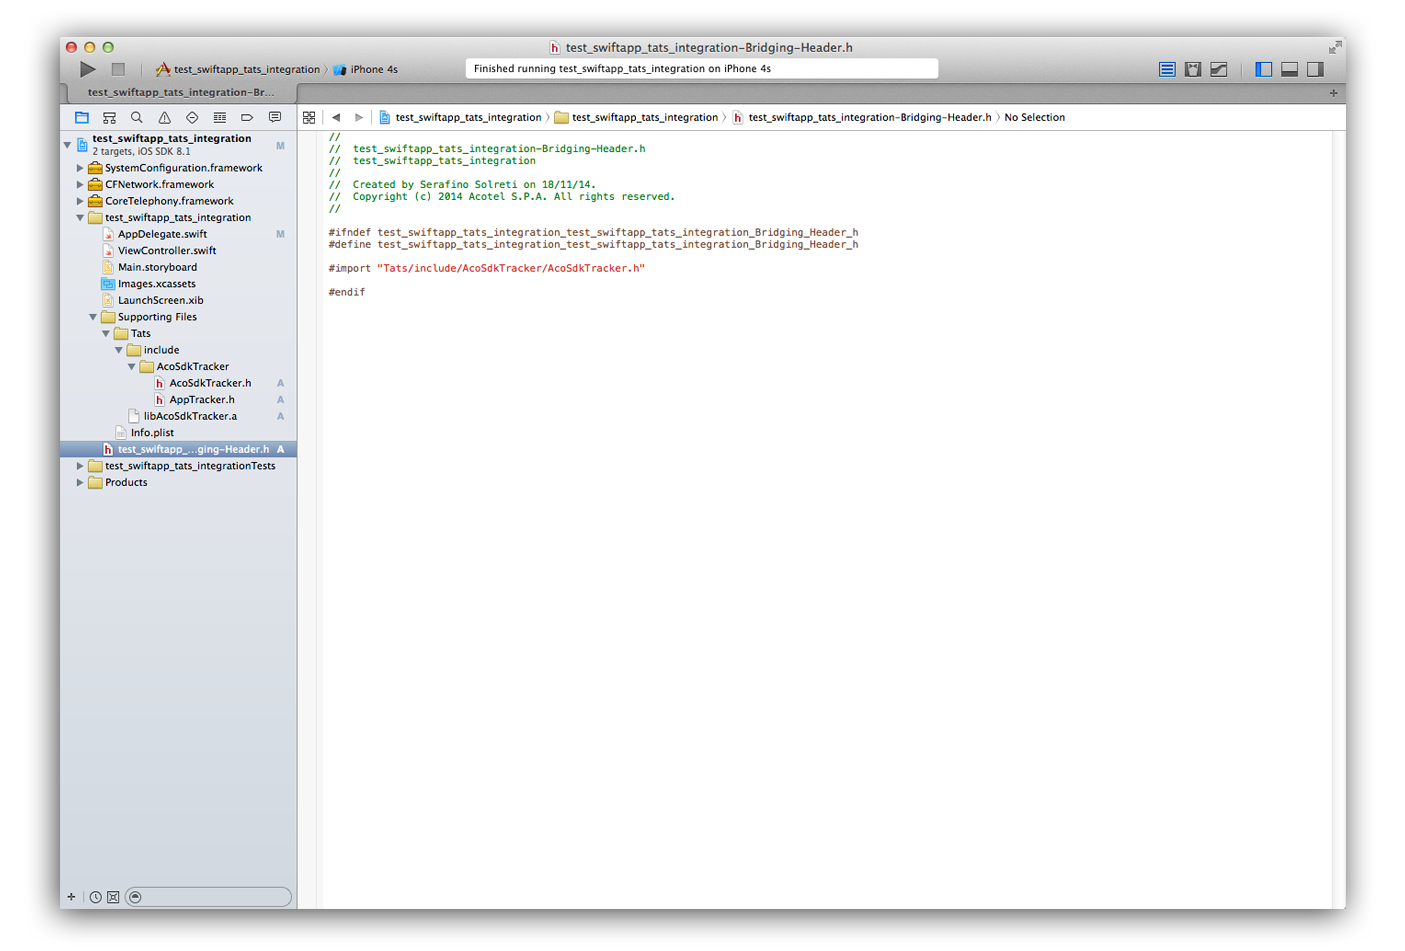
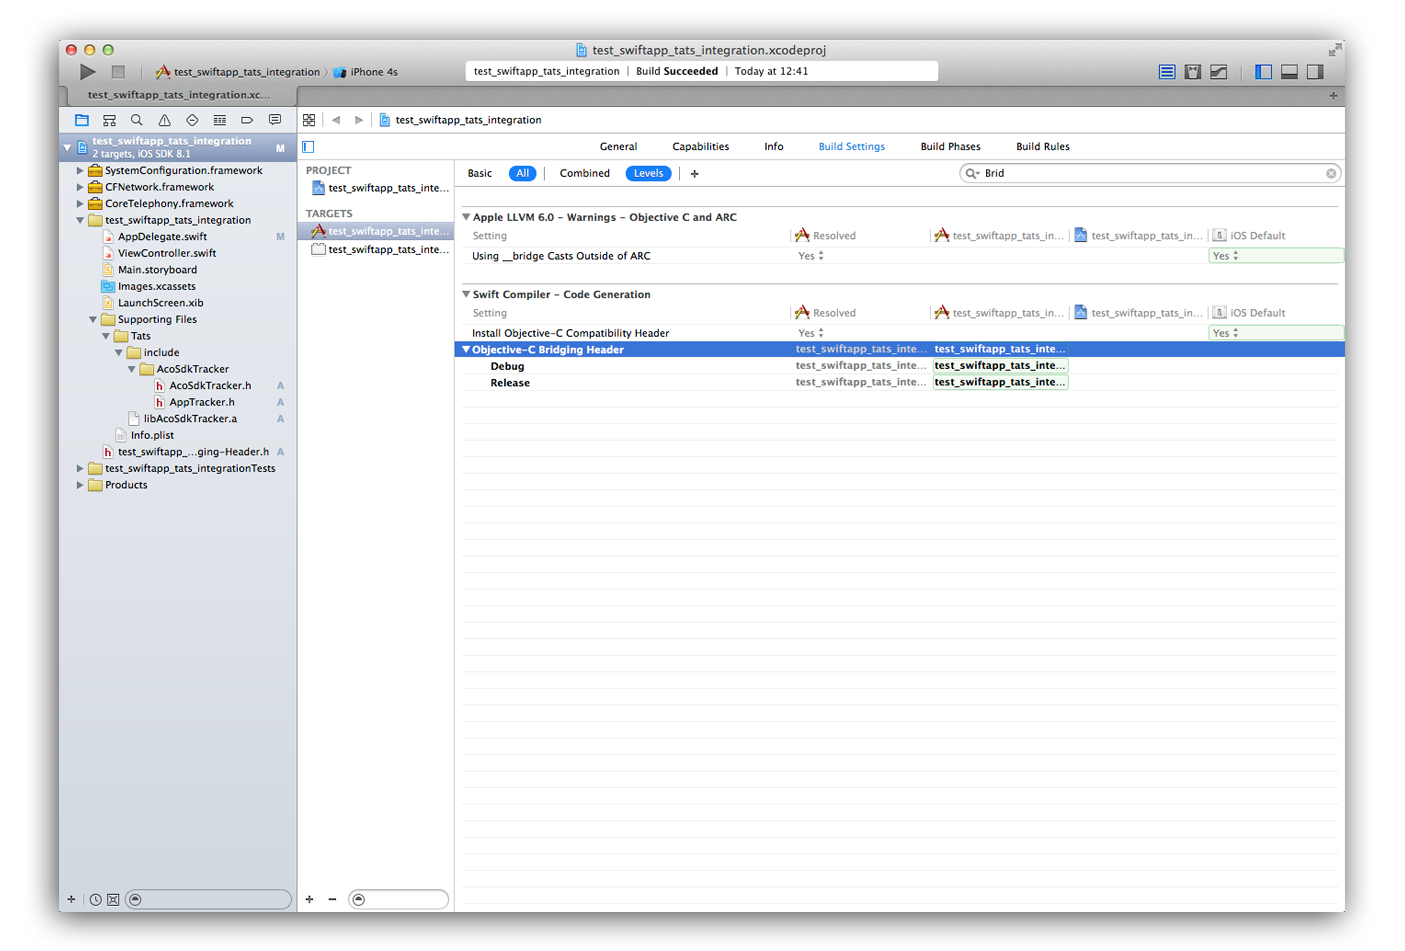
4. Make Objective-C SDK code visible to Swift one
If your project doesn't still contain a bridging header see (link
for references) you can create a bridging header yourself by choosing File > New > File > (iOS or OS X) > Source > Header File.
In your Objective-C bridging header file you can import every Objective-C header you want to expose to Swift and so, in this case, import Tats SDK header file.
In the tab Build Settings expand the group Objective-C Bridging Header. Add the header path both to Debug and Release configuration
5. Integrate Tats into your app
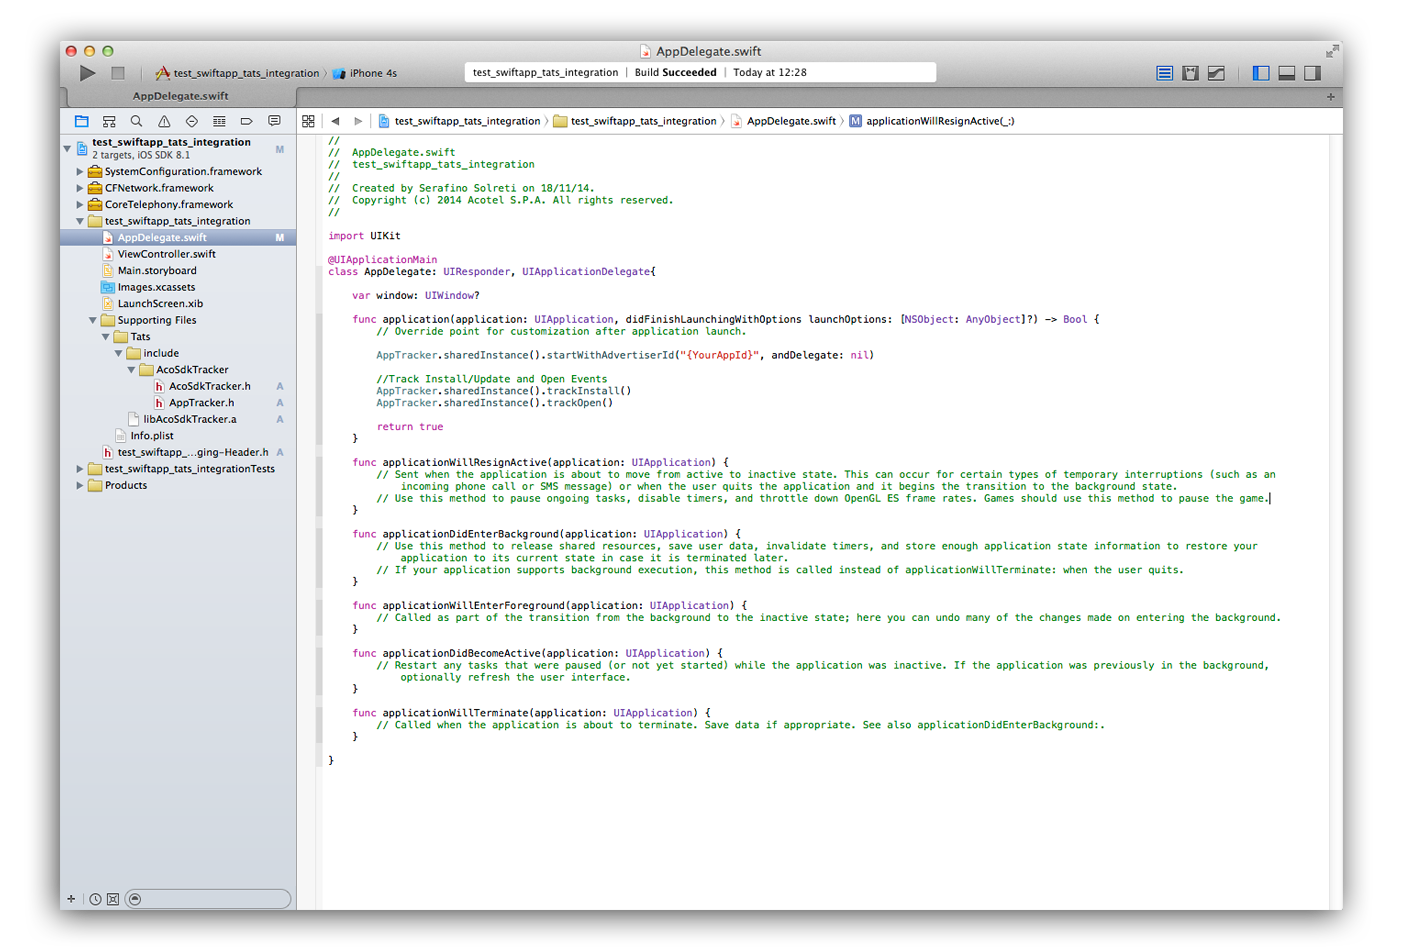
In the Project Navigator open the source file of your Application Delegate. In the application(_:didFinishLaunchingWithOptions:) method of your App Delegate add the following calls to Tats
// ....
AppTracker.sharedInstance().startWithAdvertiserId("{YourAppId}", andDelegate: nil)
//Track Install/Update and Open Events
AppTracker.sharedInstance().trackInstall()
AppTracker.sharedInstance().trackOpen()
Replace {YourAppId} with your App Token. You can find it in your dashboard at link
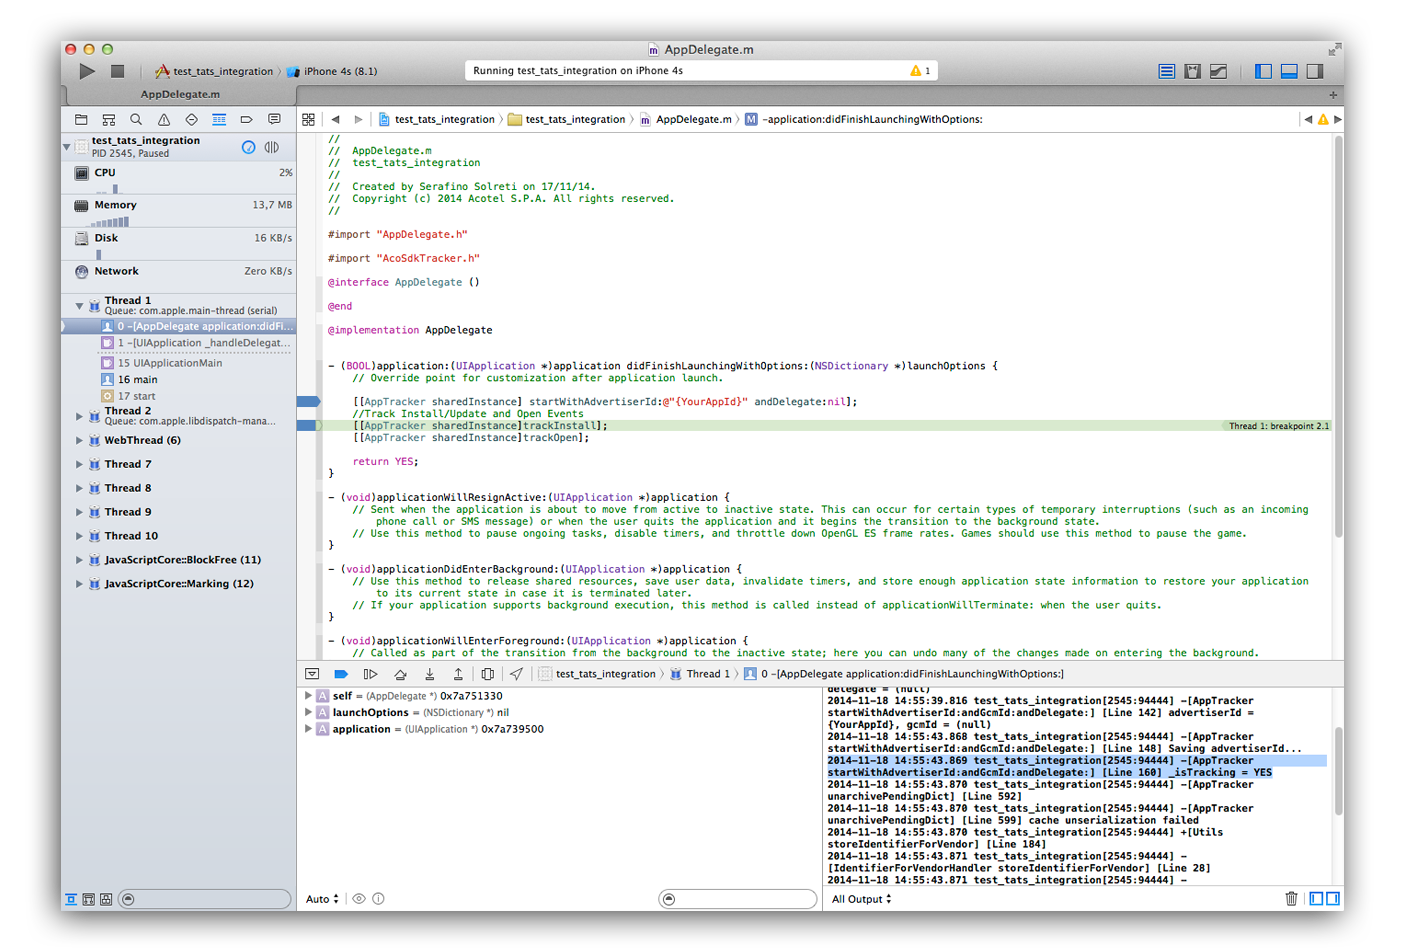
6. Build your app
Build and run your app. If the build succeeds, you successfully integrated Tats into your app. After the app launched, you should see the debug log (if you are using the SDK debug build) isTracking=YES.
Additional features
Once you integrated the Tats SDK into your project, you can take advantage of the following features.
7. Add tracking of custom events
You can tell Tats about every event you want. Suppose you want to track every tap on a button. You would have to create a new Event Token in your dashboard. Let's say that Event Id is "BUTTON_CLICK". In your button's buttonDown method you could then add the following line to track the click:
AppTracker.sharedInstance().eventTrackerWithId("BUTTON_CLICK")
8. Push Notification: send device token and get Tats push id
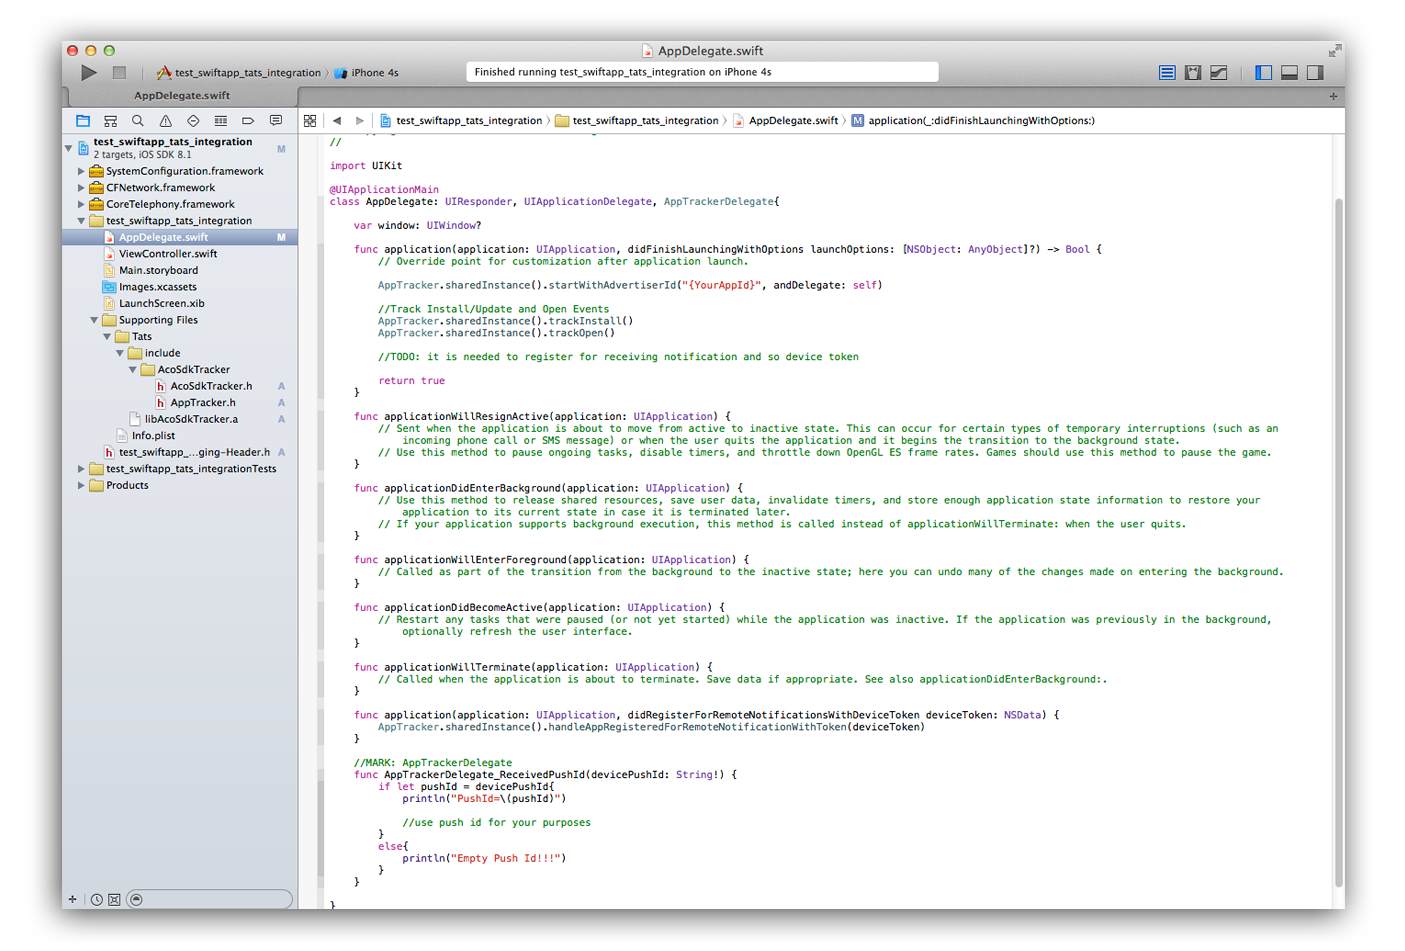
If you need to use the Tats push id feature you need to send the device token, received in the application(_:didRegisterForRemoteNotificationsWithDeviceToken:) method of your App Delegate, to Tats backend using the handleAppRegisteredForRemoteNotificationWithToken method. In the application(_:didRegisterForRemoteNotificationsWithDeviceToken:) method of your App Delegate add the following calls to Tats:AppTracker.sharedInstance().handleAppRegisteredForRemoteNotificationWithToken(deviceToken)
Then you need to implement the optional AppTrackerDelegate protocol in your App Delegate (to do that see the next paragraph: 9.Receive delegate callbacks)
After implementing the AppTrackerDelegate protocol your app will receive the push id when the AppTrackerDelegate_ReceivedPushId callback is called
Note: Remember to register your app for receiving push notification using components provided by the Apple iOS SDK otherwise your app won't receive the device token.
9. Receive delegate callbacks
Follow this steps to implement the optional delegate protocol in your App Delegate.
-
Open
AppDelegate.swiftand add theAppTrackerDelegateto theAppDelegateclass types list declaration.class AppDelegate: UIResponder, UIApplicationDelegate, AppTrackerDelegate
-
Set the Tats delegate in
didFinishLaunchingapplication (_:didFinishLaunchingWithOptions:)where you already initialized Tats (adding the delegate parameter where you before putnil).AppTracker.sharedInstance().startWithAdvertiserId("{YourAppId}", andDelegate: self) -
Still in
AppDelegate.swiftadd the following delegate callback function to your app delegate implementation.func AppTrackerDelegate_ReceivedPushId(devicePushId: String!) { } -
Implement the delegate function.
The delegate function will get called every time Tats SDK receives a push id from Tats backend
License
The Tats SDK is licensed under
Copyright © 2014, sdk